Let me share with you a story about my friend Sarah’s disaster. She stored her artist grandmother’s oil paintings in her garage last summer. When she pulled them out six months later? The canvases had warped like potato chips, and the once-vibrant colors looked like they’d been through a desert sandstorm. That $8,000 collection? Basically damage.
That’s when I learned – the hard way – that artwork demands respect when storing it. Here’s everything I’ve learned from art conservators, gallery owners, and my own expensive mistakes.
Why Your Closet is Probably Killing Your Art?
Most people think they can just lean paintings against a wall and call it a day. Big mistake. Here’s what’s actually happening to improperly stored art:
- Canvas breathes – Like a living thing, it expands and contracts with humidity changes.
- Oil paint cracks – Ever seen those spiderweb lines on old paintings? That’s from temperature swings.
- Acid eats artwork – Regular cardboard and tape will literally burn into your pieces over time.
- Silverfish munch – These creepy little bugs love to snack on paper and canvas.
The Gallery Owner’s Best Secret Packing Method
After Sarah’s disaster, I talked to a gallery owner who’s been storing art for 30 years. Here’s his step-by-step method:
1. The Naked Truth Test
First, take everything out of the frames. Why? Because:
- Frames trap moisture against the art.
- You can’t see mold developing underneath.
- Glass can shatter and slice through your painting.
2. The Sandwich Technique
Layer your artwork like this:
- Bottom layer: Foam board.
- Then: Acid-free tissue.
- Artwork face-up.
- Another acid-free sheet.
- Top layer: More foam board.
- Tape the edges – but only with artist’s tape!
3. The Vertical Rule Works
Store them upright like vinyl records, never stacked. I use old LP shelves from a record store – perfect fit for most canvases.
Where to Stash Your Masterpieces (And Where to Avoid)
The Good:
- Interior closets (the central part of your home).
- Under beds (with proper padding).
- Specially built art racks.
The Kill Zones:
- Garages (temperature rollercoasters).
- Attics (bug heaven).
- Basements (mold factories).
- Exterior walls (too much temperature transfer).
When DIY Just Won’t Cut It
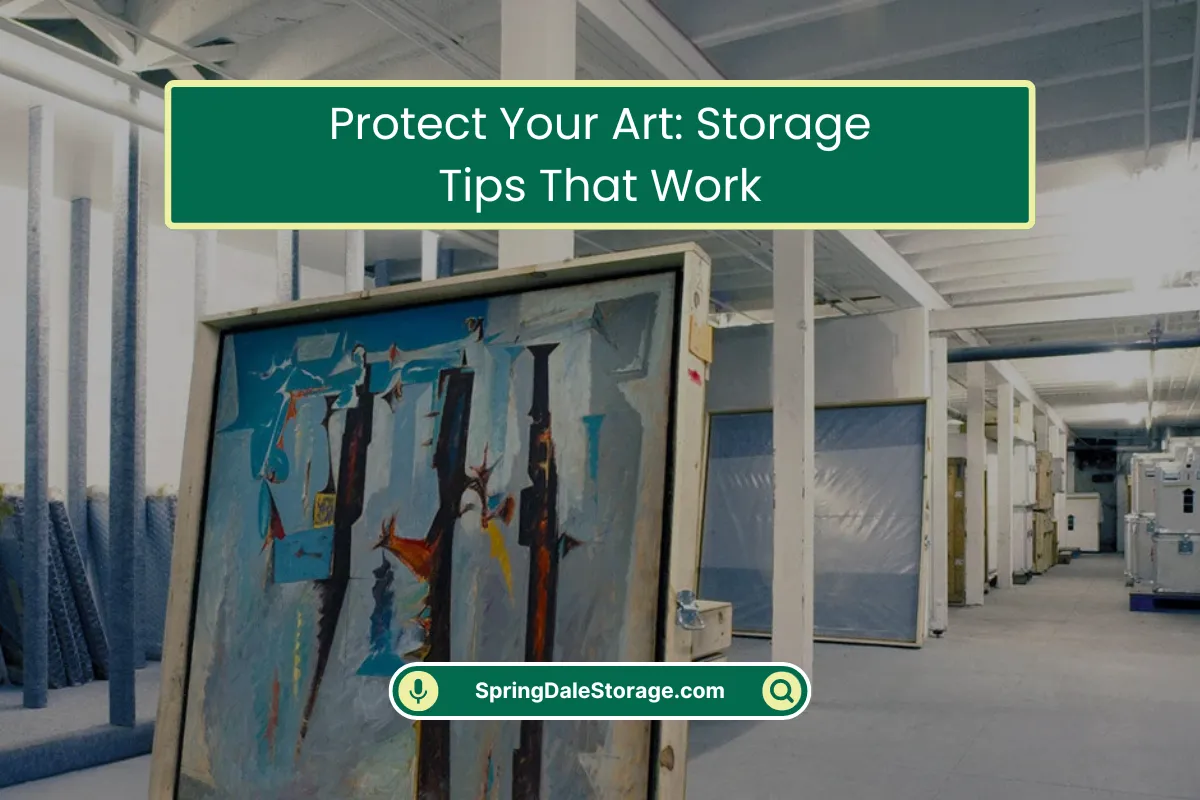
Here’s the cold truth – if you’ve got valuable pieces, home storage often isn’t enough. That’s why at County Line Storage, we built art storage that mimics museum conditions:
- Precision climate control space (55°F, 50% humidity year-round).
- Vibration-free floors (no passing trucks shaking your pieces).
- Full-spectrum security (because art theft is shockingly common).
- White-glove handling (we’ll even help you pack it right).
The Forgotten Step Everyone Misses
Even in perfect storage, you need to:
- Rotate pieces every 6 months (prevents pressure marks).
- Do quick condition checks (look for any changes).
- Update your documentation (photos, appraisals).
Final Thought
Storing art isn’t about hiding it away – it’s about preserving stories. Whether it’s your kid’s first painting or a valuable find, these techniques will keep them alive for the next generation.
And if you want to store your art at museum-quality storage without the museum price tag? Swing by County Line Storage – we’ll treat your pieces like the treasures they are.


0 Comments